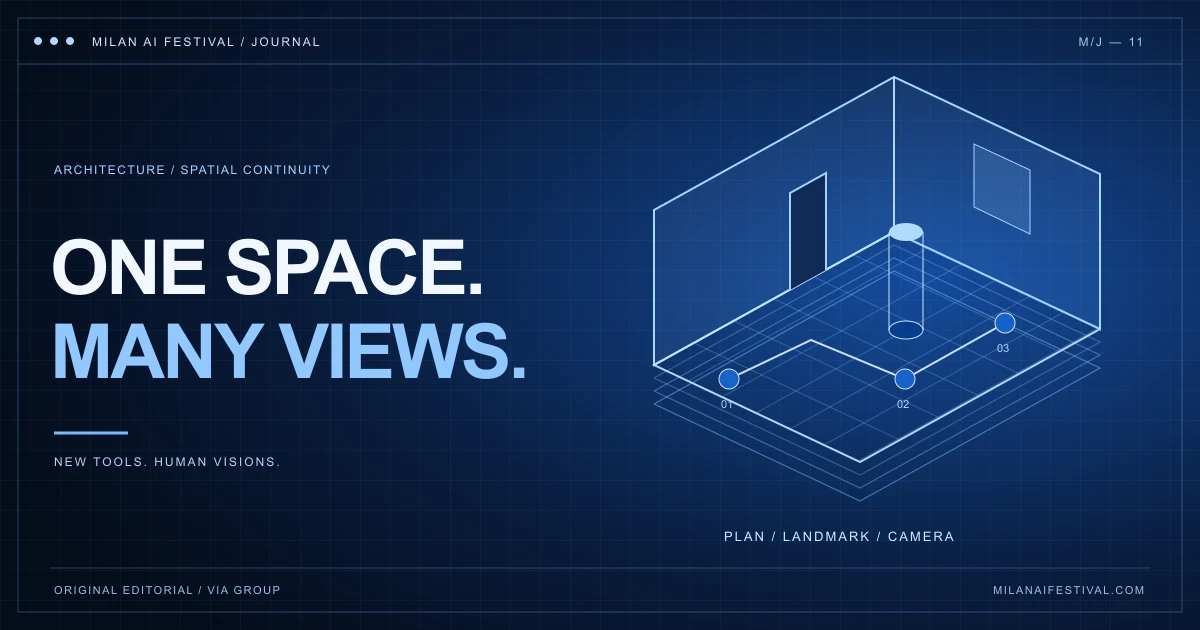
To make an AI architecture film feel like one place, define its layout before generating shots, keep a small set of visible landmarks consistent, and test adjoining shots in the edit. Separate deliberate transformations from accidental changes to doors, windows, scale or circulation. A simple plan and a short continuity log can be more useful than generating many unrelated beautiful interiors.
Decide whether you are showing a place or transforming it
An architectural film can explain a design, suggest a possible future, or build an impossible dream. Decide which experience you want before developing the images. If the audience is meant to understand how a building works, a corridor that changes direction between shots is a problem. If the building deliberately rearranges itself, the change needs a clear cinematic purpose.
Write a one-sentence promise for the sequence. For example: ‘We follow a visitor from the street into a quiet reading room.’ That is an invented exercise, not a description of a festival entry. It gives each shot a job: establish the entrance, cross the threshold, reveal the room and show what makes it feel quiet. Reject an attractive image if it belongs to a different spatial idea.
This guide proposes an editorial workflow for making and reviewing your film. It is not a technical validation of a building, a model-specific prompting recipe or a Milan AI Festival judging policy.
Make a small spatial reference before making the shots
Draw a rough plan with the entrance, main room, connecting passage and major opening. Label a few landmarks that a viewer could recognise: a circular skylight, one red column, a long bench. You do not need a finished architectural model to decide that the bench sits opposite the window and the doorway opens into the same room.
Create a reference sheet containing the plan, one approved wide view, a material palette and the landmarks. Record which features may change and which must stay fixed. For the reading-room exercise, furniture placement and window count might be fixed while the weather can vary. A list of three precise constraints is easier to assess than an instruction to make everything consistent.
If you already work in 3D, a rough blockout can help establish camera positions and proportions before you introduce generated material. Keep the reference views from that blockout with the shot list. It remains a guide for checking outputs; it does not guarantee that a generative tool will preserve the geometry.
Choose a camera language and keep a record of it
The Blender camera manual distinguishes perspective from orthographic projection. Perspective produces depth-dependent apparent size; orthographic projection keeps parallel lines parallel and removes that size change with distance. These are different ways to communicate space. Use a diagram-like view when it serves the idea, but make a transition into an immersive view legible.
For each planned shot, note the camera’s location, approximate height, viewing direction and movement. If you are rendering a reference, record projection and lens settings too. A phrase such as ‘slow cinematic movement’ does not tell you whether the camera advances through a doorway, rotates from a fixed point or travels sideways along a wall.
Do not treat a focal-length number in a prompt as a calibrated virtual camera. Judge the resulting view. Compare the apparent room proportions, near and far objects, and vertical lines against your reference. When changing perspective intentionally, provide enough shared detail for viewers to recognise that they are still in the same place.
Plan the cut before generating the next angle
Adobe’s continuity-editing guide describes continuity as grounding viewers in time and space, including techniques such as eyeline matching and maintaining a consistent spatial axis. Apply that principle to architecture: decide where the viewer is going and what in the next shot confirms the move.
In the reading-room exercise, the first shot could show a visitor approaching a door on the right. The next view should explain the arrival inside, perhaps by retaining the doorway or the same landmark. A sudden reverse view can work, but it should be a chosen reveal. If you cannot explain the relationship between two frames on your plan, a more elaborate transition is unlikely to solve the underlying confusion.
Keep a three-line note for each cut: what carries across, what changes, and what the viewer learns. For example, the red column carries across; the view moves from entrance to interior; the viewer learns that the reading area sits beyond it. This small discipline makes the edit about information rather than a procession of impressive rooms.
Review geometry separately from surface detail
Inspect the opening, middle and final frame of a generated shot, then watch it at normal speed. Look for doors that multiply, stairs that lose their landing, windows that shift between walls, or a surface that changes material during a move. These are checks to perform, not claims that every tool or clip will exhibit the same errors.
Sort each issue into three groups: layout, appearance or motion. Layout covers where things are and how spaces connect. Appearance covers materials, colour and lighting. Motion covers camera travel and changes within the shot. Fix the issue that breaks the intended reading first. Correcting a wall colour will not rescue a doorway that opens into an incompatible room.
Use a stable object as a scale reference where useful, such as a seat or a person shown consistently. Compare its relationship to the room across views. If the piece is speculative, say so in its description; visual plausibility is different from evidence that the design could be built.
Use transitions to express an idea, not conceal a mismatch
A match cut connects shots through a shared visual or auditory element. In an architecture film, a circular ceiling opening might lead to a similarly framed courtyard. That can establish a conceptual relationship even when the spaces are not physically adjacent. Decide whether the cut means ‘the next room’ or ‘a related idea’ and support that meaning.
For a deliberate transformation, choose what anchors the viewer while the architecture changes. The camera position, a central doorway or a continuous movement can provide a reference. Keep a version without the transformation and compare the two. Does the change reveal something about the design, or merely interrupt the viewer’s understanding?
Sound can help connect shots, but it should not do all the explanatory work. Watch the sequence muted once to assess the geography, then listen again for changes in ambience, distance and rhythm. A continuous soundtrack may make an inconsistent cut feel smoother without making the space easier to understand.
Run a short audience test and keep a useful breakdown
Show the sequence to someone who has not seen your plan. Ask them to sketch the route or name the relationship between two rooms. Their answer is evidence about this edit, not a universal score for the film. If the route is unclear, inspect the point where their interpretation diverges before regenerating the whole sequence.
Keep the approved references, the current shot order and a brief decision log. Our AI film project breakdown guide explains how to present meaningful revisions. For checking the origin and editing history of assets, the Content Credentials guide covers what provenance information can and cannot establish.
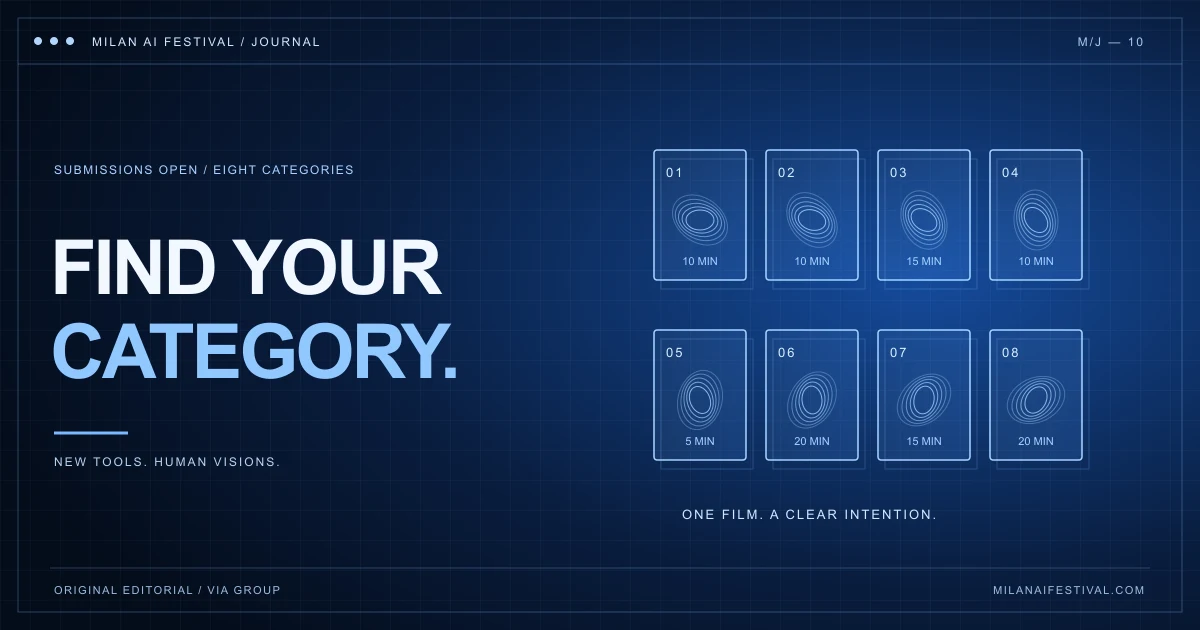
Milan AI Festival includes Best AI Design & Architecture, with a maximum runtime of 10 minutes, alongside categories for other kinds of AI moving-image work. Compare the published categories and our submission category guide when deciding where your finished film belongs. Current entry rules are on FilmFreeway.
The journal is published by VIA Group — Visual Innovation Awards, organiser of Milan AI Festival. The same network connects Rome AI Festival and Florence AI Festival, each with its own programme and announcements. This article’s workflow is a resource for makers; it does not promise selection or replace any festival’s entry conditions.